**Updated 1/19**
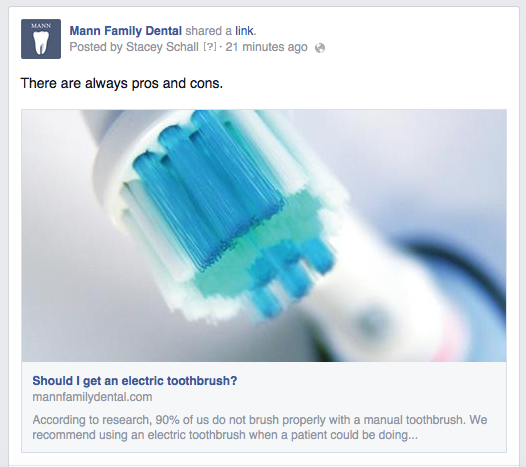
Have you ever posted a link to Facebook, wanting it to look like this:

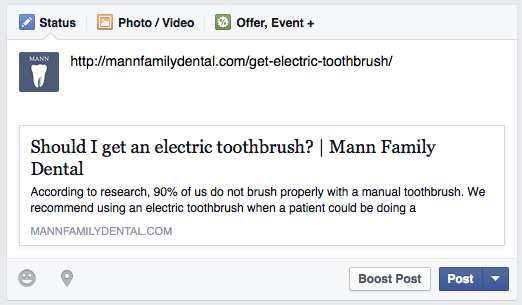
But instead, it looked like this?:

If your Facebook link image is not showing, it can be pretty frustrating. That’s why I’m here to help you to make sure that every link you post looks professional every single time.
The first step was done perfectly in my example. Simply copy and paste the URL of your link into your status. The link should automatically appear. If the image from the webpage you’re posting doesn’t automatically appear, go to developers.facebook.com/tools/debug. You’ll see this:
Paste in the URL and hit debug.
You’ll get lots of information including when and how the URL was scraped, meta tags, and images. At the bottom, you’ll see what it will look like when it is shared. As long as there is an image within the page for Facebook to pick up, it should look the way you want it to. If it still doesn’t look right, try refreshing the page.
A few years back Facebook allowed you to upload your image right then and there if you wanted it to be something other than what was on the post. They also allowed you to change the title and description on the post, but that feature is no longer available. There are tools you can use within your website to set the image. If you’re using WordPress, Yoast allows you to set your share settings on your post or page before you share it to social media.
Tricks like this can save you a lot of time and frustration if you’re managing your own Facebook business page. Be sure to like us on Facebook for more tips like this one and feel free to contact me at [email protected] if you have any questions.
Happy Facebooking!

Recent Comments